
Ice dams form during winter when snow on your roof melts, runs down to the cold eaves, and refreezes into a thick ridge of ice. Water backs up behind that ridge with nowhere to go, and it can work its way under your shingles and into your home. Knowing how to remove ice dams from your roof safely — and what to do to keep them from coming back — can prevent leaks, water damage, and structural problems before they start.
Signs often show up inside the house first: ceiling stains, damp insulation, or peeling paint near an exterior wall. Outside, long icicles and a solid ridge of ice along the roof edge signal the same problem. Ice dams aren’t just cosmetic — left alone, they can damage roofing materials, walls, and interior finishes.
Removing ice dams the right way reduces water backup and limits further damage, but the process has to be done carefully — the wrong tools or an unsafe approach can damage your shingles or cause a fall. The steps below walk through how to remove ice dams from your roof using safe, controlled methods.

What Are Ice Dams?
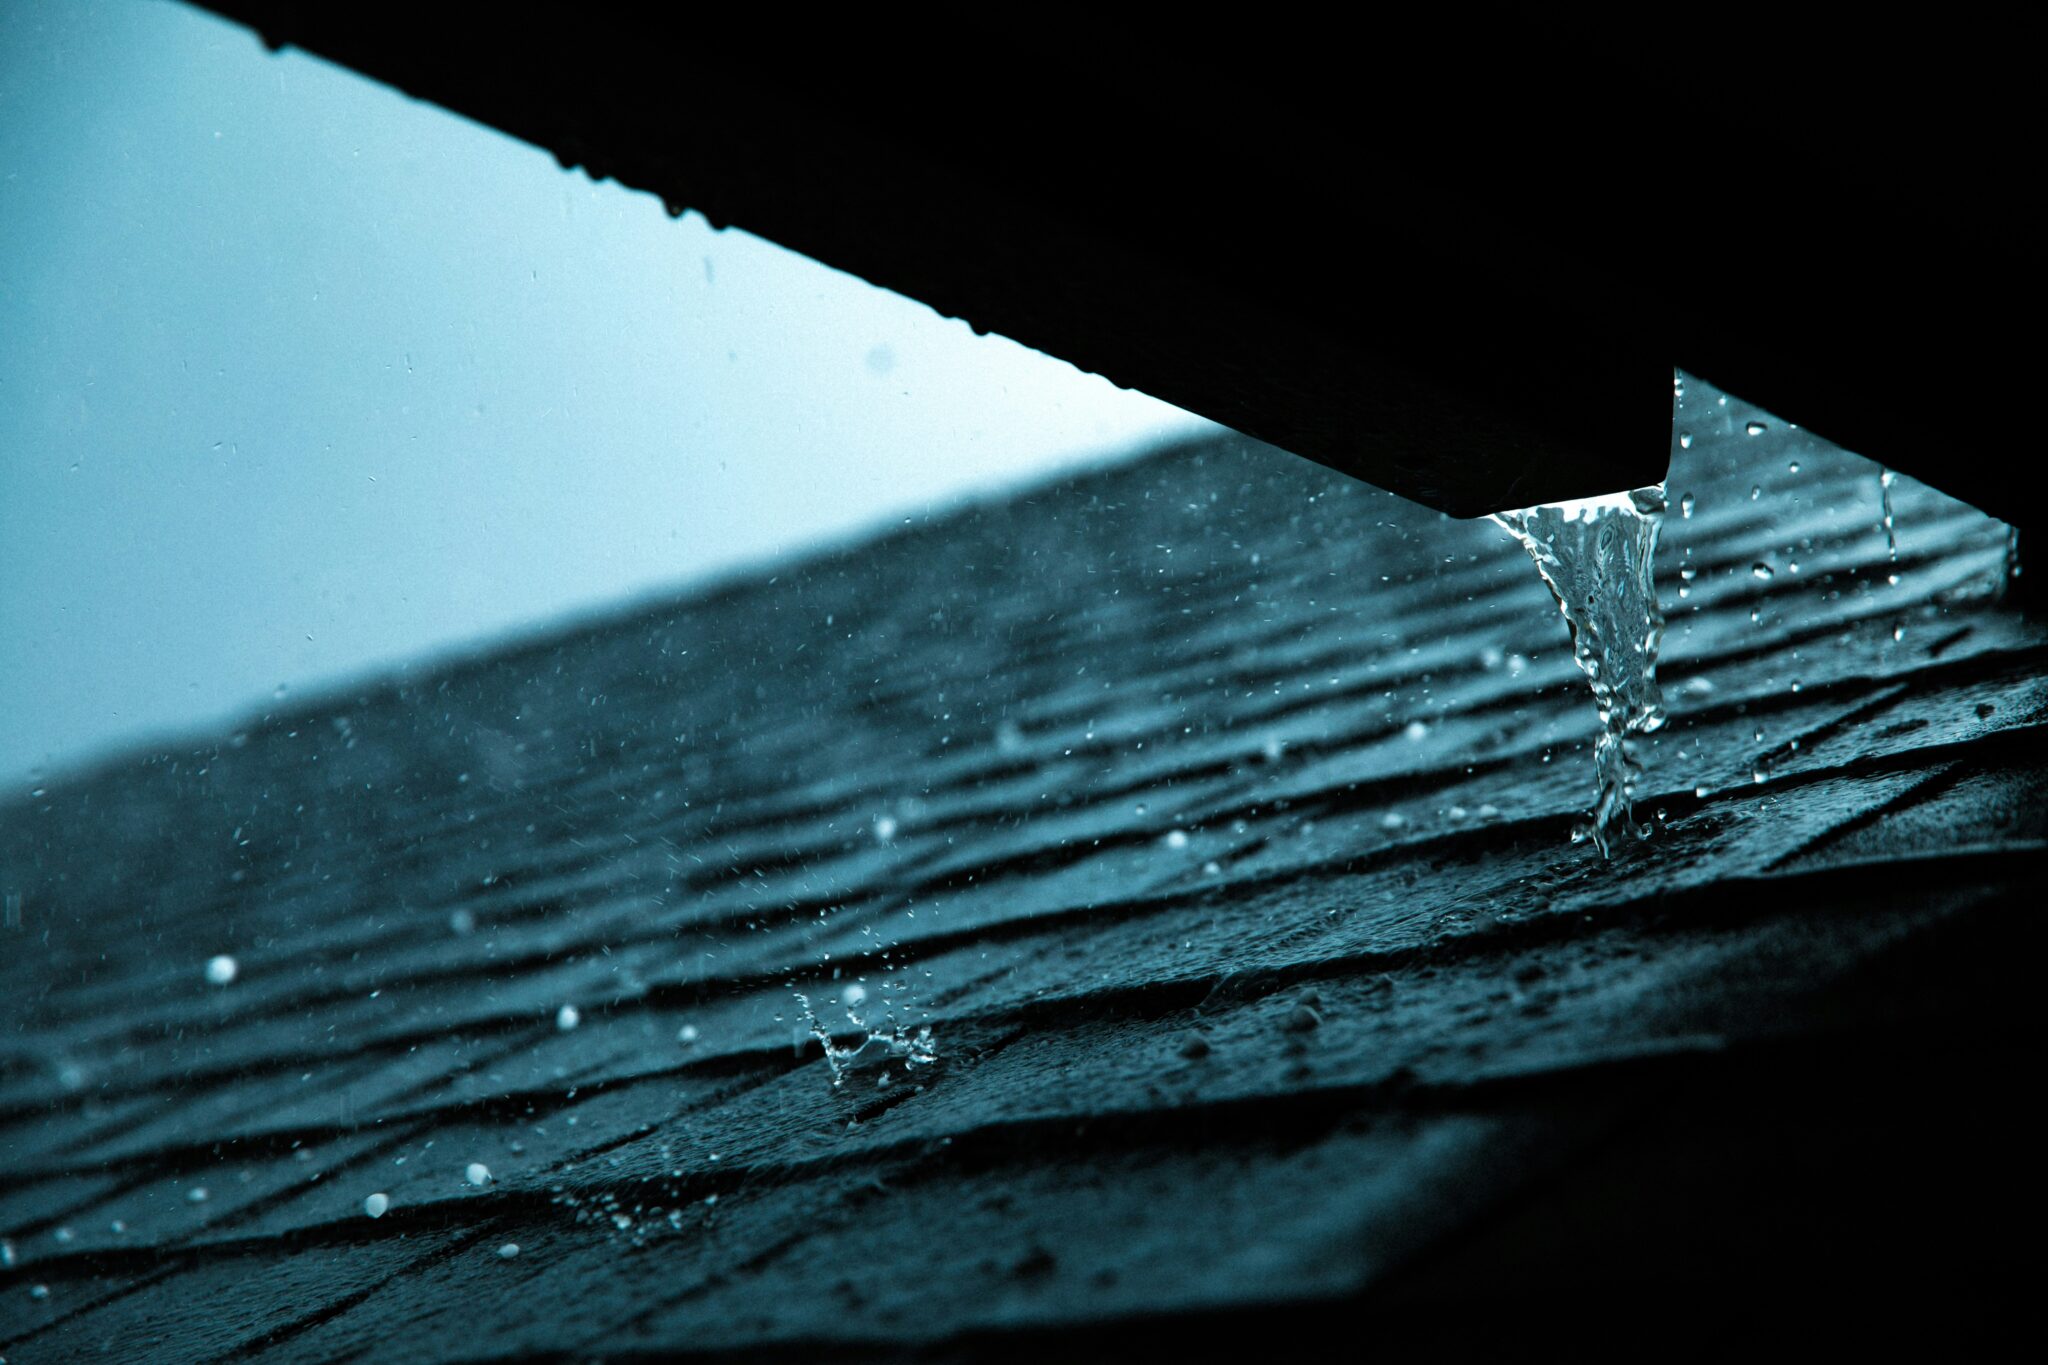
Ice dams are ridges of frozen water that form along the lower edge of a roof. Their main effect is blocking meltwater from reaching the gutter. Water backs up behind the dam instead and slowly works its way underneath the shingles. Once it’s inside, it can soak into insulation or travel through the walls or ceiling.
Steps to Remove Ice Dams From Your Roof
Here are the most important steps for removing ice dams safely:
Inspect the Roof
Start from the ground. Look at the roof edges and eaves for thick snow buildup and solid ice lines. Icicles are a sign of trapped water above. This inspection tells you where removal should begin and where to be extra careful.
Wear Safety Gear
Ice on a roof is a serious slipping hazard. Use boots with rubber soles, gloves, and eye protection. If you’re using a ladder, secure it and stay clear of areas where ice could fall. Don’t walk on the roof itself unless you have the right safety equipment.
Remove Snow
Clearing snow limits further melting, which reduces pressure behind the ice. Use a roof rake from the ground, pulling snow downward in small sections starting at the edge and moving upward. Keep your distance from falling snow and ice.
Use Ice Melt
Ice melt products help break up solid ice — but only safe products should be used. Calcium chloride works at low temperatures and causes less damage than alternatives. Place it inside a cloth tube or old stocking and lay it across the dam to create a vertical melt channel that lets trapped water drain. Avoid rock salt; it damages roofing and nearby surfaces.
Clear the Gutters
Blocked gutters make ice buildup worse because water has nowhere to escape. Remove leaves and debris with gloves or a tool, and clear the downspouts too. Clean gutters let meltwater move away from the roof once the ice starts to loosen.
Check for Roof Damage
After removal, inspect the roof edges closely — shingles, trim, and gutters can all be affected. Look for lifted shingles, cracks, or bent gutters. Inside the home, check ceilings near exterior walls for early signs of damage.
Prevent Future Dams
Prevention comes down to controlling heat loss. Improve attic insulation, seal air leaks around vents and fixtures, and make sure ventilation is balanced. Keeping roof temperatures closer to outdoor conditions reduces the snow-melt-and-refreeze cycle that causes ice dams in the first place.
Call a Professional
Heavy ice buildup can be dangerous to remove yourself. Professionals use safety harnesses and the right tools to remove ice without damaging shingles, and they can assess your insulation and recommend longer-term fixes. When conditions aren’t safe, professional help is the right call. For a closer look at how ice dams form and the damage they can cause, InterNACHI’s ice dam guide is a solid resource.
Tips to Prevent Ice Dams on Your Roof
A few of the best prevention steps to follow:
- Increase insulation to the recommended R-value for your climate zone.
- Distribute insulation evenly over the attic floor — don’t leave thin spots near the eaves.
- Use flame-resistant materials to seal gaps around the top plate and chimney.
- Install airtight covers on any recessed lights rated for insulation contact.
- Have a self-adhering ice and water barrier installed under the roof covering at eaves, valleys, and around penetrations.
- Combine that barrier with correct underlayment and balanced ventilation.
- Install self-regulating heat cables in a zigzag pattern along the lower roof edge and into the gutter and downspout path.
- Clear leaves and debris before winter so meltwater can pass through freely.
- Use gutter guards that don’t trap snow.
Conclusion
Ice dams form when snow melts unevenly on the roof and refreezes at the coldest edges. Trapped water leads to leaks, staining, and structural damage. Removing an ice dam safely means inspecting first, gearing up properly, clearing snow, breaking down the ice in a controlled way, cleaning the gutters, and checking for damage afterward.
Preventing future dams comes down to proper insulation and ventilation that limit heat loss. In severe cases, a professional can remove ice safely and more thoroughly than most DIY methods allow. Following these steps helps you remove ice dams from your roof while reducing both property damage and the risk of injury.
For help with ice dam removal or a professional inspection, contact Sutton’s — a GAF Master Elite® certified roofing contractor serving Springfield, IL, since 1946.
FAQs
What tool is used to remove ice dams?
A roof rake with a long handle is the main tool for safely clearing snow from the ground before it can form an ice dam. To break up ice that’s already formed, calcium chloride in a mesh bag or stocking creates a drainage channel.
Is it safe to remove ice dams myself?
DIY ice dam removal carries real risk from slippery ground, steep roofs, and falling snow and ice. It’s only safe if you have the right safety equipment and know what you’re doing. Otherwise, it’s worth calling in a professional.