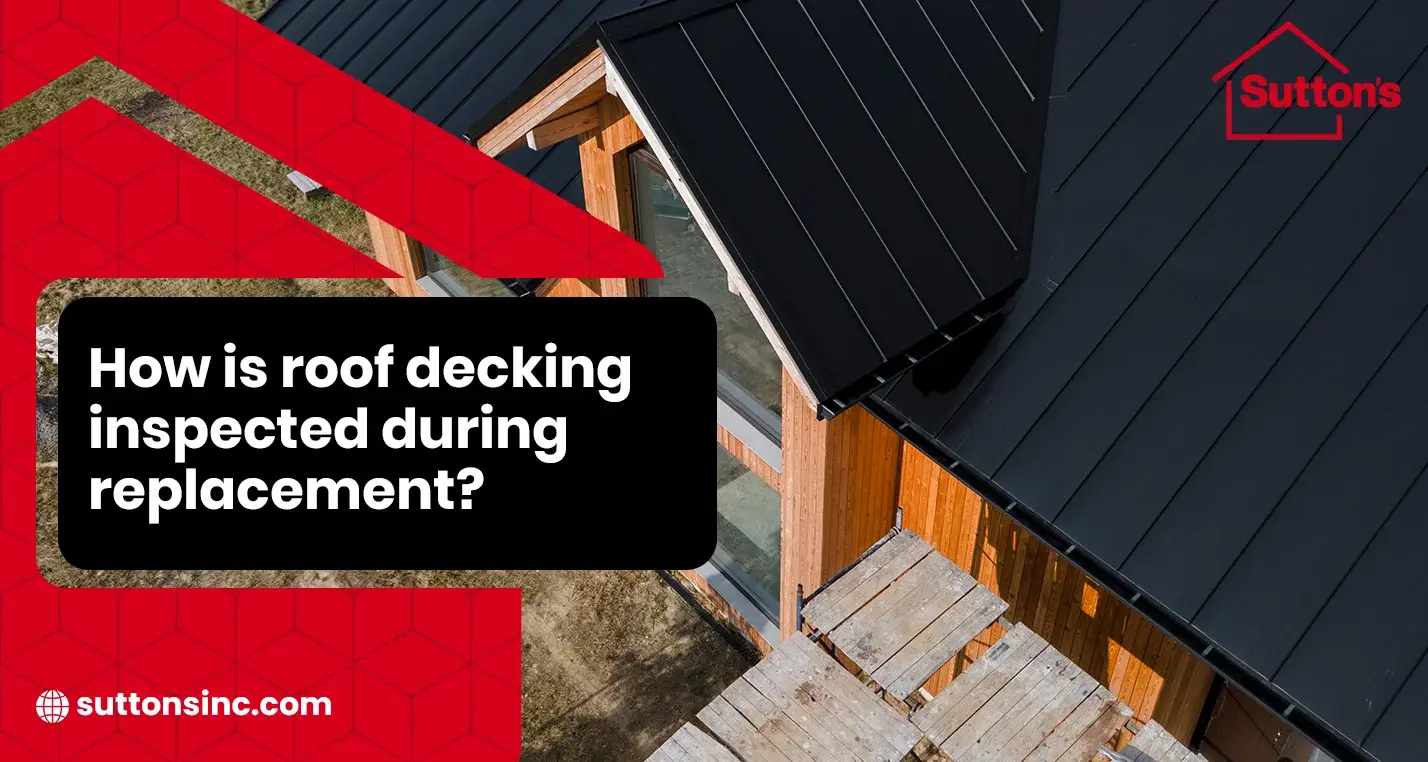
Homeowners planning roof replacement in Springfield, IL should understand how roof decking inspection identifies moisture damage, weak wood, structural concerns, and hidden roofing problems. When you decide to peel back the layers of your old shingles, you are doing more than just swapping out colors. You are finally getting a look at the skeleton of your home. Most people think a new roof is just what you see from the curb but the wood boards underneath, the decking, are what actually keep your house standing.
If that wood is soft, rotted, or full of holes, those expensive new shingles won’t have anything to bite into. You have to know how the pros check this foundation so you don’t end up with a brand-new roof on a crumbling base.
Roof Decking Inspection Steps
- Total Tear-Off: Clearing shingles to see the bare wood.
- Soft Spot Testing: Walking the deck to find spongy areas.
- Stain Identification: Looking for old water damage and mold.
- Nail Grip Check: Ensuring the wood can actually hold a fastener.
- H-Clip Inspection: Checking the metal braces between boards.
- Gap Measurement: Verifying the wood has room to grow and shrink.
- Rafter Alignment: Making sure the ribs of the roof are straight.
- Thickness Check: Ensuring the wood meets modern building codes.
- Heat Damage Search: Looking for cooked or brittle plywood.
- Fascia Inspection: Checking the edges where the gutters hang.
Common Roof Decking Problems Found During Roof Replacement
A real inspection happens in the heat of the job. Once the wood is bare, the crew has a very narrow window to locate and fix the issues before the new dry-in begins.
1. The Full Surface Reveal
The first move is getting everything out of the way. You can’t inspect a deck by peeking under a shingle. A reputable crew will clear every scrap of felt paper and old tin. This is often when homeowners start looking for the best roofing contractors near me, realizing their current roof was just hiding a mess of black mold and soft spots.
2. Testing for Soft Plywood
Once the wood is visible, the crew walks the surface to feel for spongy areas. If the plywood gives way under a person’s weight, the glue inside the wood has failed. This usually happens from years of heat in the attic. The wood becomes brittle and “delaminates,” meaning it peels apart like an old book.
3. Checking for Dark Water Stains
Water leaves a trail. Even if the wood is dry today, dark black or brown stains tell a story of old leaks. These spots are usually found around chimneys or in the “valleys” of the roof. If the stain is soft to the touch, the wood is rotted and must be cut out and replaced immediately. Finding honest residential roofing contractors is key here because you want someone who won’t just cover up the rot.
4. Examining Nail Holding Power
A roof is only as good as the nails holding it down. The inspector looks at the old nail holes. If the wood is “punched out” or the holes are too wide, the new nails won’t stay put. This is a big reason why pro crews sometimes recommend replacing entire sheets of wood rather than just patching small holes. You need a solid surface for the shingles to grab onto.
5. Inspecting the H-Clips
On many modern homes, small metal clips hold the edges of the plywood together between the rafters. If these clips are missing or rusted through, the roof deck will sag between the beams. Replacing these clips ensures the roof stays flat and doesn’t develop those ugly waves you see on old houses.
6. Searching for Daylight Gaps
The crew looks at the seams where the boards meet. If the gaps are too wide, it can cause the shingles to crack over time as the house shifts. Conversely, if there is no gap at all, the wood will buckle when it gets humid. Proper spacing is a technical detail that ensures your roof replacement Springfield project actually lasts as long as the warranty says it should.
7. Checking Rafter Alignment
Sometimes the problem isn’t the plywood; it’s the rafters underneath. An inspector looks for boards that have twisted or pulled away from the main ridge beam. If the “ribs” of the house are crooked, the plywood will never sit flat, and the new shingles will look uneven from the street.
8. Verifying Proper Thickness
Codes change over time. An older home might have very thin wood that was fine forty years ago but won’t meet the standards for a modern project. The inspector measures the thickness of the deck to make sure it can handle the weight of heavy architectural shingles and the occasional Illinois snow load. Thin wood flexes too much and can break the shingle seals.
The National Roofing Contractors Association has more on how proper decking and installation standards affect a roof’s long-term performance.
9. Looking for Heat Damage (Pyrolysis)
If an attic isn’t vented right, the wood gets “cooked” for decades. It turns a deep chocolate brown and becomes very easy to snap. This is called pyrolysis. Wood in this condition is a fire hazard and has zero structural strength left. It has to go. It’s basically charcoal at that point and won’t hold a nail through a single windstorm.
10. Inspecting the Perimeter Fascia
The very edge of the deck is where the gutters attach. This is the most common place for rot because of ice dams. The inspector checks the “starter” edge of the wood to make sure it isn’t crumbly. If the edge is gone, your gutters will eventually fall off the house, taking the edge of your new roof with them.
Read Also: What makes metal roofing structurally different?
Conclusion
Your roof is a shield but that shield needs a solid wall to stand on. Skipping the decking inspection can ruin a big investment. You want a crew that isn’t afraid to tell you the truth about the state of your wood. Getting the base right helps ensure your home stays dry for decades.
For a team that understands the grit and technical side of a proper install, you should talk to Sutton’s – a GAF Master Elite certified company with reliable roofing services. They make sure the skeleton of your home is just as strong as the shingles on top.
FAQs
Does insurance cover rotted wood?
Usually, no. Insurance covers sudden damage like hail or wind. Rot is considered a maintenance issue that has developed over time. You should always have a “contingency fund” ready for wood replacement when you start a roofing project so you aren’t surprised by the bill.
Can you put new wood over old wood?
Never do this. It’s called “overlaying,” and it’s a disaster. It traps moisture between the layers and adds way too much weight to your house. Always rip the old stuff out so the new wood can be nailed directly to the rafters.
What is the difference between plywood and OSB?
Plywood is made of thin layers of wood glued together. OSB is made of compressed wood chips. Both work fine for roofs but OSB is used more today because it is very flat and doesn’t have the knots that plywood can have.