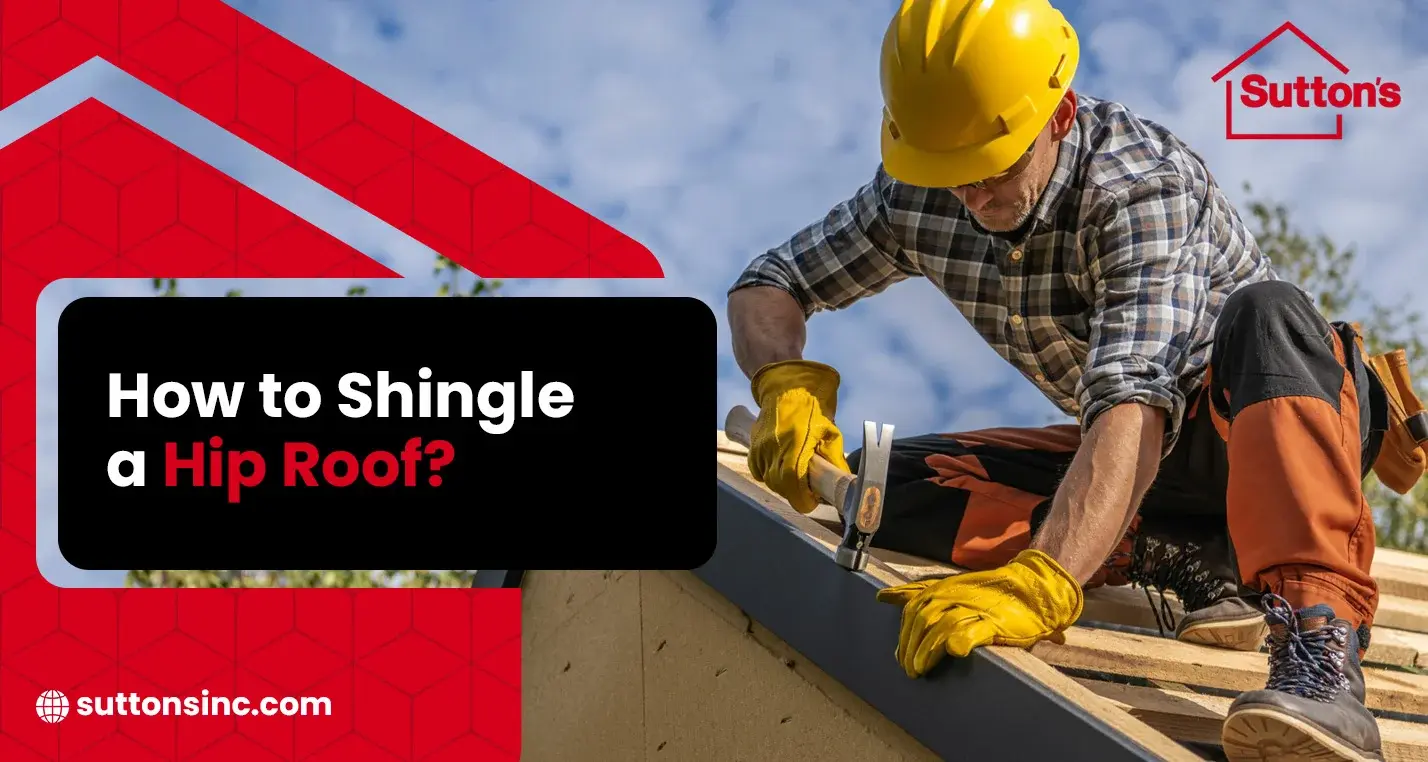
Installing shingles on a hip roof is a big step up in difficulty compared to a simple gable. Because all four sides of the house slope down, you have more edges to deal with and plenty of tricky angles to cut. If you want to know how to shingle a hip roof, you have to start with a real plan. You’ll spend a lot of time on the prep work and making sure the underlayment is totally flat.
From there, it is a steady job of laying starter strips and building up your main shingle layers. The most important work happens at the corners. That is where you’ll be cutting the hips and installing ridge caps to keep the water out. It isn’t just about nailing things down. It is about making sure those intersections are tight. If you follow the right flow, you’ll end up with a roof that handles wind and rain without any leaks.
10 Steps to Install Shingles on Your Hip Roof
Safety is the main thing here. Hip roofs are usually steep, so wear boots with a good grip and use a harness. Once you are set up, you can start the heavy labor.
1. Stripping and Preparing the Deck
Don’t try to save time by shingling over old layers. Tear everything off until you see the bare wood. Check for any soft spots or rot in the plywood and replace those sections immediately. Once the deck is clean and flat, nail down your drip edges along the bottom eaves. This keeps the edges of the wood from getting soaked and rotting.
2. The Underlayment Layer
Lay down your ice and water shield along the eaves first. After that, roll out your synthetic underlayment across the rest of the roof. Make sure each row overlaps the one below it by at least four inches. This is your backup plan for when heavy rain gets pushed under the shingles during a bad storm.
3. Installing Starter Strips
Starter shingles go right along the bottom edge. They have a sticky strip that seals the first row of shingles down so they don’t blow off in high wind. Make sure they hang over the drip edge just a little bit, maybe half an inch. This helps the water drop straight into your gutters instead of soaking the wood behind them.
4. Snapping Layout Lines
Don’t just eyeball it. You need a chalk line. Snap horizontal lines every few feet as you move up the roof. This keeps your rows from looking crooked as you work across the long stretches of a hip roof. It also helps you stay on track when you’re moving between the different slopes.
5. Fastening the Main Shingles
Start at the bottom and work your way up toward the peak. Use four to six nails for every shingle. When you reach the hips, let the shingles run right over the edge for now. You’ll come back to trim them later. Just focus on keeping your exposure consistent so the roof looks uniform from the ground.
6. Trimming the Hip Lines
Once the shingles are all on, you need a clean line where the two roof sections meet. Use a chalk line to mark a straight path right up the center of the hip. Use a sharp utility knife to cut through the shingles along that line. You want the shingles from both sides to meet closely but not overlap in a big, bulky mess.
7. Managing the Ridge Peak
As you get to the very top, finish the rows on all sides. You want the final courses of shingles to reach the horizontal ridge at the same height. If one side is higher than the other, it makes it hard to get the final ridge vent or cap to sit flat against the house.
8. Preparing the Hip Caps
Standard shingles won’t work for the ridges because they aren’t meant to bend. You need specific hip and ridge cap shingles. If you are using 3-tab shingles, you can cut them into three separate squares. Bend each one slightly in your hands before you try to nail it down. This prevents the cold asphalt from cracking when you force it over the peak.
9. Installing the Ridge Shingles
Start at the bottom of the hip and work your way up to the very top peak. Each cap should cover the nails of the piece below it. You will need longer nails for this because you are driving through the cap, the shingles underneath, and the wood. When you reach the top where the hips meet the main ridge, overlap the pieces so the water flows downward.
10. Final Seal and Cleanup
The very last nail on the final cap will be exposed. Cover that nail head with a dab of roofing cement. This stops rust and leaks. Walk around the roof and make sure no shingles are sitting high. Clear off all the scraps and run a magnet through the grass to pick up any stray nails.
Conclusion
Getting through the process of how to shingle a hip roof is all about staying organized. You have to be careful with the initial underlayment and the starter strips to get a good foundation. The real skill is in cutting the hips and installing ridge caps so the corners stay dry for years. It takes a lot of focus. But the result is worth the effort.
Doing a roof yourself is a massive task, and sometimes you just want the pros to handle the heights. If you’d rather have an expert team take care of your home, Sutton’s provides the quality craftsmanship and experience you need to keep your roof in perfect shape for a lifetime.
FAQs
How to shingle a hip roof step by step?
First, you prep the roof deck and put down underlayment. Then you install starter strips, nail down your main shingles, trim them at the hips, and finish the job by installing overlapping ridge caps.
What are the steps to shingle a roof?
You need to remove old shingles, fix the wood, and install the drip edge and underlayment. After that, you lay the shingles in overlapping rows and finish with the ridge caps and sealant.
How do you figure shingles for a hip roof?
Measure the total area of all four sides and then add about 15 percent extra for waste. Hip roofs require more trimming and more ridge caps than a standard roof, so you need that extra material.